When you press the space key to start playback, Cubase usually starts playback with a one-tempo delay.
The delay at the start of playback is determined by the state of various settings, but some settings may cause enough of a delay to affect operability.
This article will discuss the items that affect the delay at the start of playback and explain the settings for responsive and comfortable transport operation.
Item 1: Audio Interface Buffer Size
Needless to say, the audio interface buffer (ASIO buffer) size affects not only the playback delay but also the overall operational response of Cubase.
Therefore, users who place real-time recording at the center of their productions should keep the buffer size as small as possible in the ASIO settings.
However, realistic buffer size is determined by a combination of CPU power, so some compromise is required.
If MIDI editing is the main focus, the need for a smaller ASIO buffer is reduced, which has the advantage that a large number of instruments and various effectors can be inserted.
However, the size of the ASIO buffer also affects the response at the start of playback and MIDI editing, so if you want crisp operational response, you need to set a small buffer to some extent.
Item 2: Latency of plug-in effectors & sound sources
If the audio interface buffer is set to a small value but playback latency or operation response is poor, the latency of the plug-in or instrument inserted into the track may be affecting the latency.
A common case is that it is caused by a high-performance mastering plug-in inserted into the master track.
In the past, I have also experienced several hundred milliseconds of latency at any given time due to Ozone’s Maximizer set to a high quality setting.
In this case, the latency was so great that I felt strong discomfort when starting playback and editing notes.
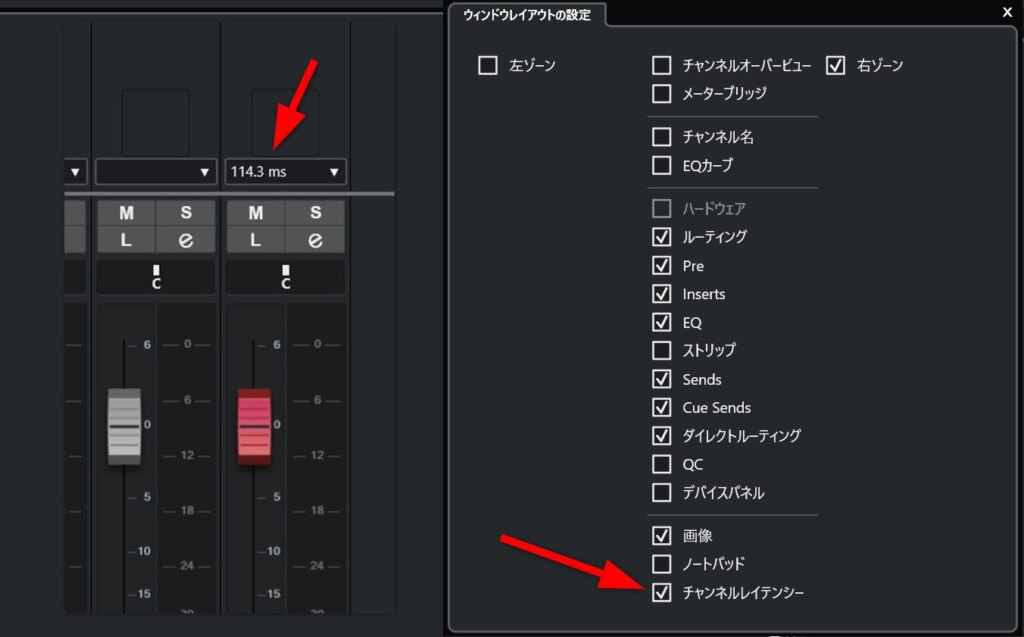
The latency of the plug-in can be checked on the mix console.
If you turn on “Channel Latency” in the “Window Layout Settings” of the mix console, the latency values will be displayed above each channel fader.
Vienna Emsenble Pro Buffer
If you are working on an orchestral mockup, you may be using Vienna Emsenble Pro (VEP) in some cases.
In this case, be aware that the buffer size of VEP also affects the overall response of Cubase.
We recommend that you do not set the buffer size unnecessarily large and keep it to the minimum necessary for your production.
An excessively large buffer not only causes playback delays, but can also cause problems such as rehearsal notes not sounding properly when editing notes in the key editor.
As stated in the official advice, try using a buffer of 2 at first, and then increase the buffer when noise due to overloading is confirmed.
Item 3: MIDI latency setting
Although often overlooked, reviewing the MIDI latency settings can reduce the delay at the start of playback in Cubase and improve response.
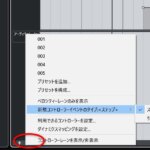
The MIDI latency setting can be found in the “MIDI” section of the Preferences.
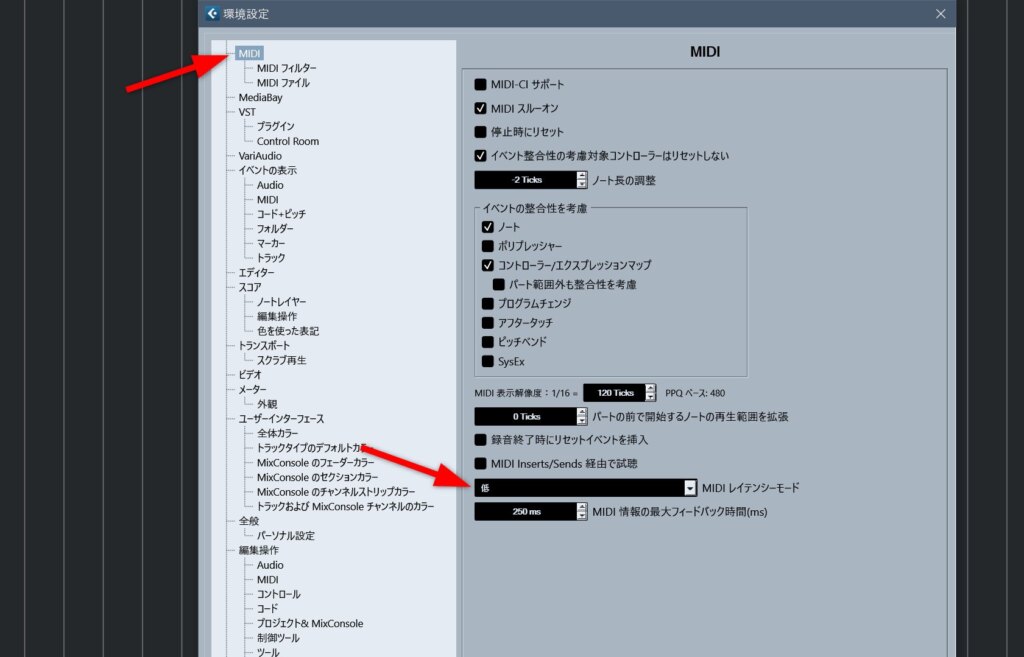
The default setting is “standard,” but setting this to “low” will improve the response when playback starts.
According to Steinberg’s explanation, lowering the MIDI latency will increase the CPU load, but for today’s CPUs this is well within the margin of error.
In fact, I regularly use the “low” setting on an older generation Windows machine, an i5-8400, and see no difference from the “standard” setting (and no change in the CPU monitor values).
Changing the MIDI latency setting does visibly improve the response at the start of playback, so I would recommend using the “low” setting unless you change the settings and see a problem.
From reading the official manual, it seems that unless you are playing back a considerable number of high-density control change events simultaneously on a large number of tracks, you should not encounter any particular problems.